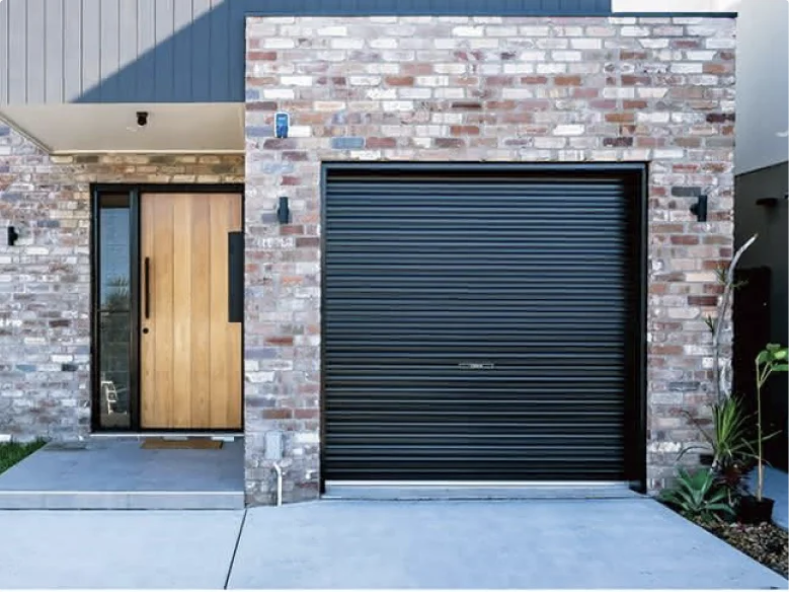
Roller doors are tough and practical, but gaps at the bottom, sides and top can let in dust, leaves, rain and pests, as well as heat and cold. Sealing them makes your garage cleaner, drier and more comfortable, and helps protect what you store in it.
Step 1: Find the gaps
Close the door and look from inside the garage in daylight with the lights off. Any light showing through marks a gap. Check:
- along the bottom rail, especially where the floor dips or slopes
- down both sides between the curtain and the guides
- across the top where the curtain rolls over the drum.
Step 2: Fit or replace the bottom seal
The bottom seal does the most work. Most roller doors take a rubber or PVC seal that slides into or attaches to the bottom rail. If yours is cracked, hard or flattened, replace it. On uneven floors a thicker seal, or a floor-mounted weather strip that the door closes onto, can close larger gaps.
Step 3: Add side seals
Brush or rubber side seals fit along the guides and close the gap between the curtain and the wall. Brush seals are popular because they seal well without adding drag to the door.
Step 4: Seal the top
A brush strip or rubber flap fixed above the opening stops dust and draughts coming over the top of the curtain as it rolls.
Step 5: Test the door
Run the door through a few full cycles. It should open and close smoothly with no extra strain on the motor. If the door now struggles or stops early, a seal may be catching. Adjust it, or ask us to check the motor force settings.
Need a hand?
We supply and fit seals to suit most roller door brands, and can check the door's balance and motor settings at the same time. For an older door with large gaps or damage, a new roller door may be the better long-term fix.